Getting Started with DocVya
Getting Started with DocVya
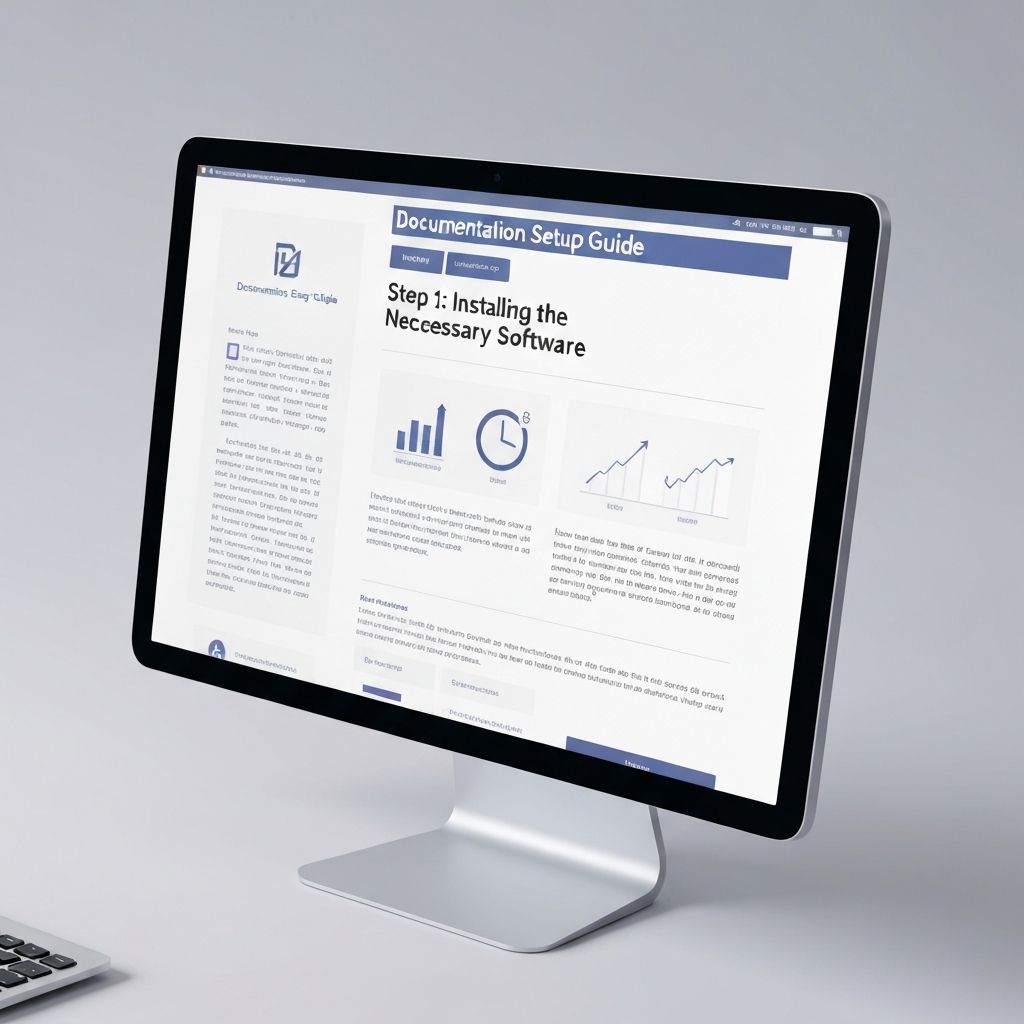
Setting up DocVya is simple and takes just a few minutes. Here's how to get started.
Step 1: Connect Your GitHub Account
First, sign up for DocVya and connect your GitHub account. We only ask for the permissions we need to read your repositories and manage documentation.
Step 2: Select Your Repository
Choose the repository where you want to keep your documentation. DocVya will look for documentation files and set up automatic syncing.
Step 3: Configure Your Documentation Settings
Tell DocVya where your documentation files are located and how you want updates to be published. You can customize this to match your workflow.
Step 4: Start Syncing
Once everything is set up, DocVya will automatically update your documentation whenever you merge code changes. No extra steps needed.
Tips for Success
That's it! You're now using DocVya to keep your documentation automatically updated.
Did you find this helpful? Share it with others.